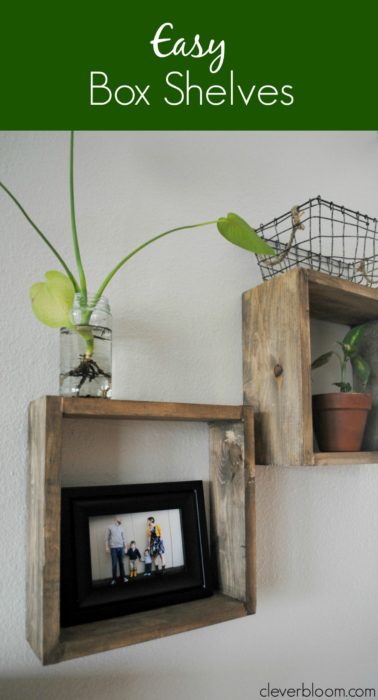
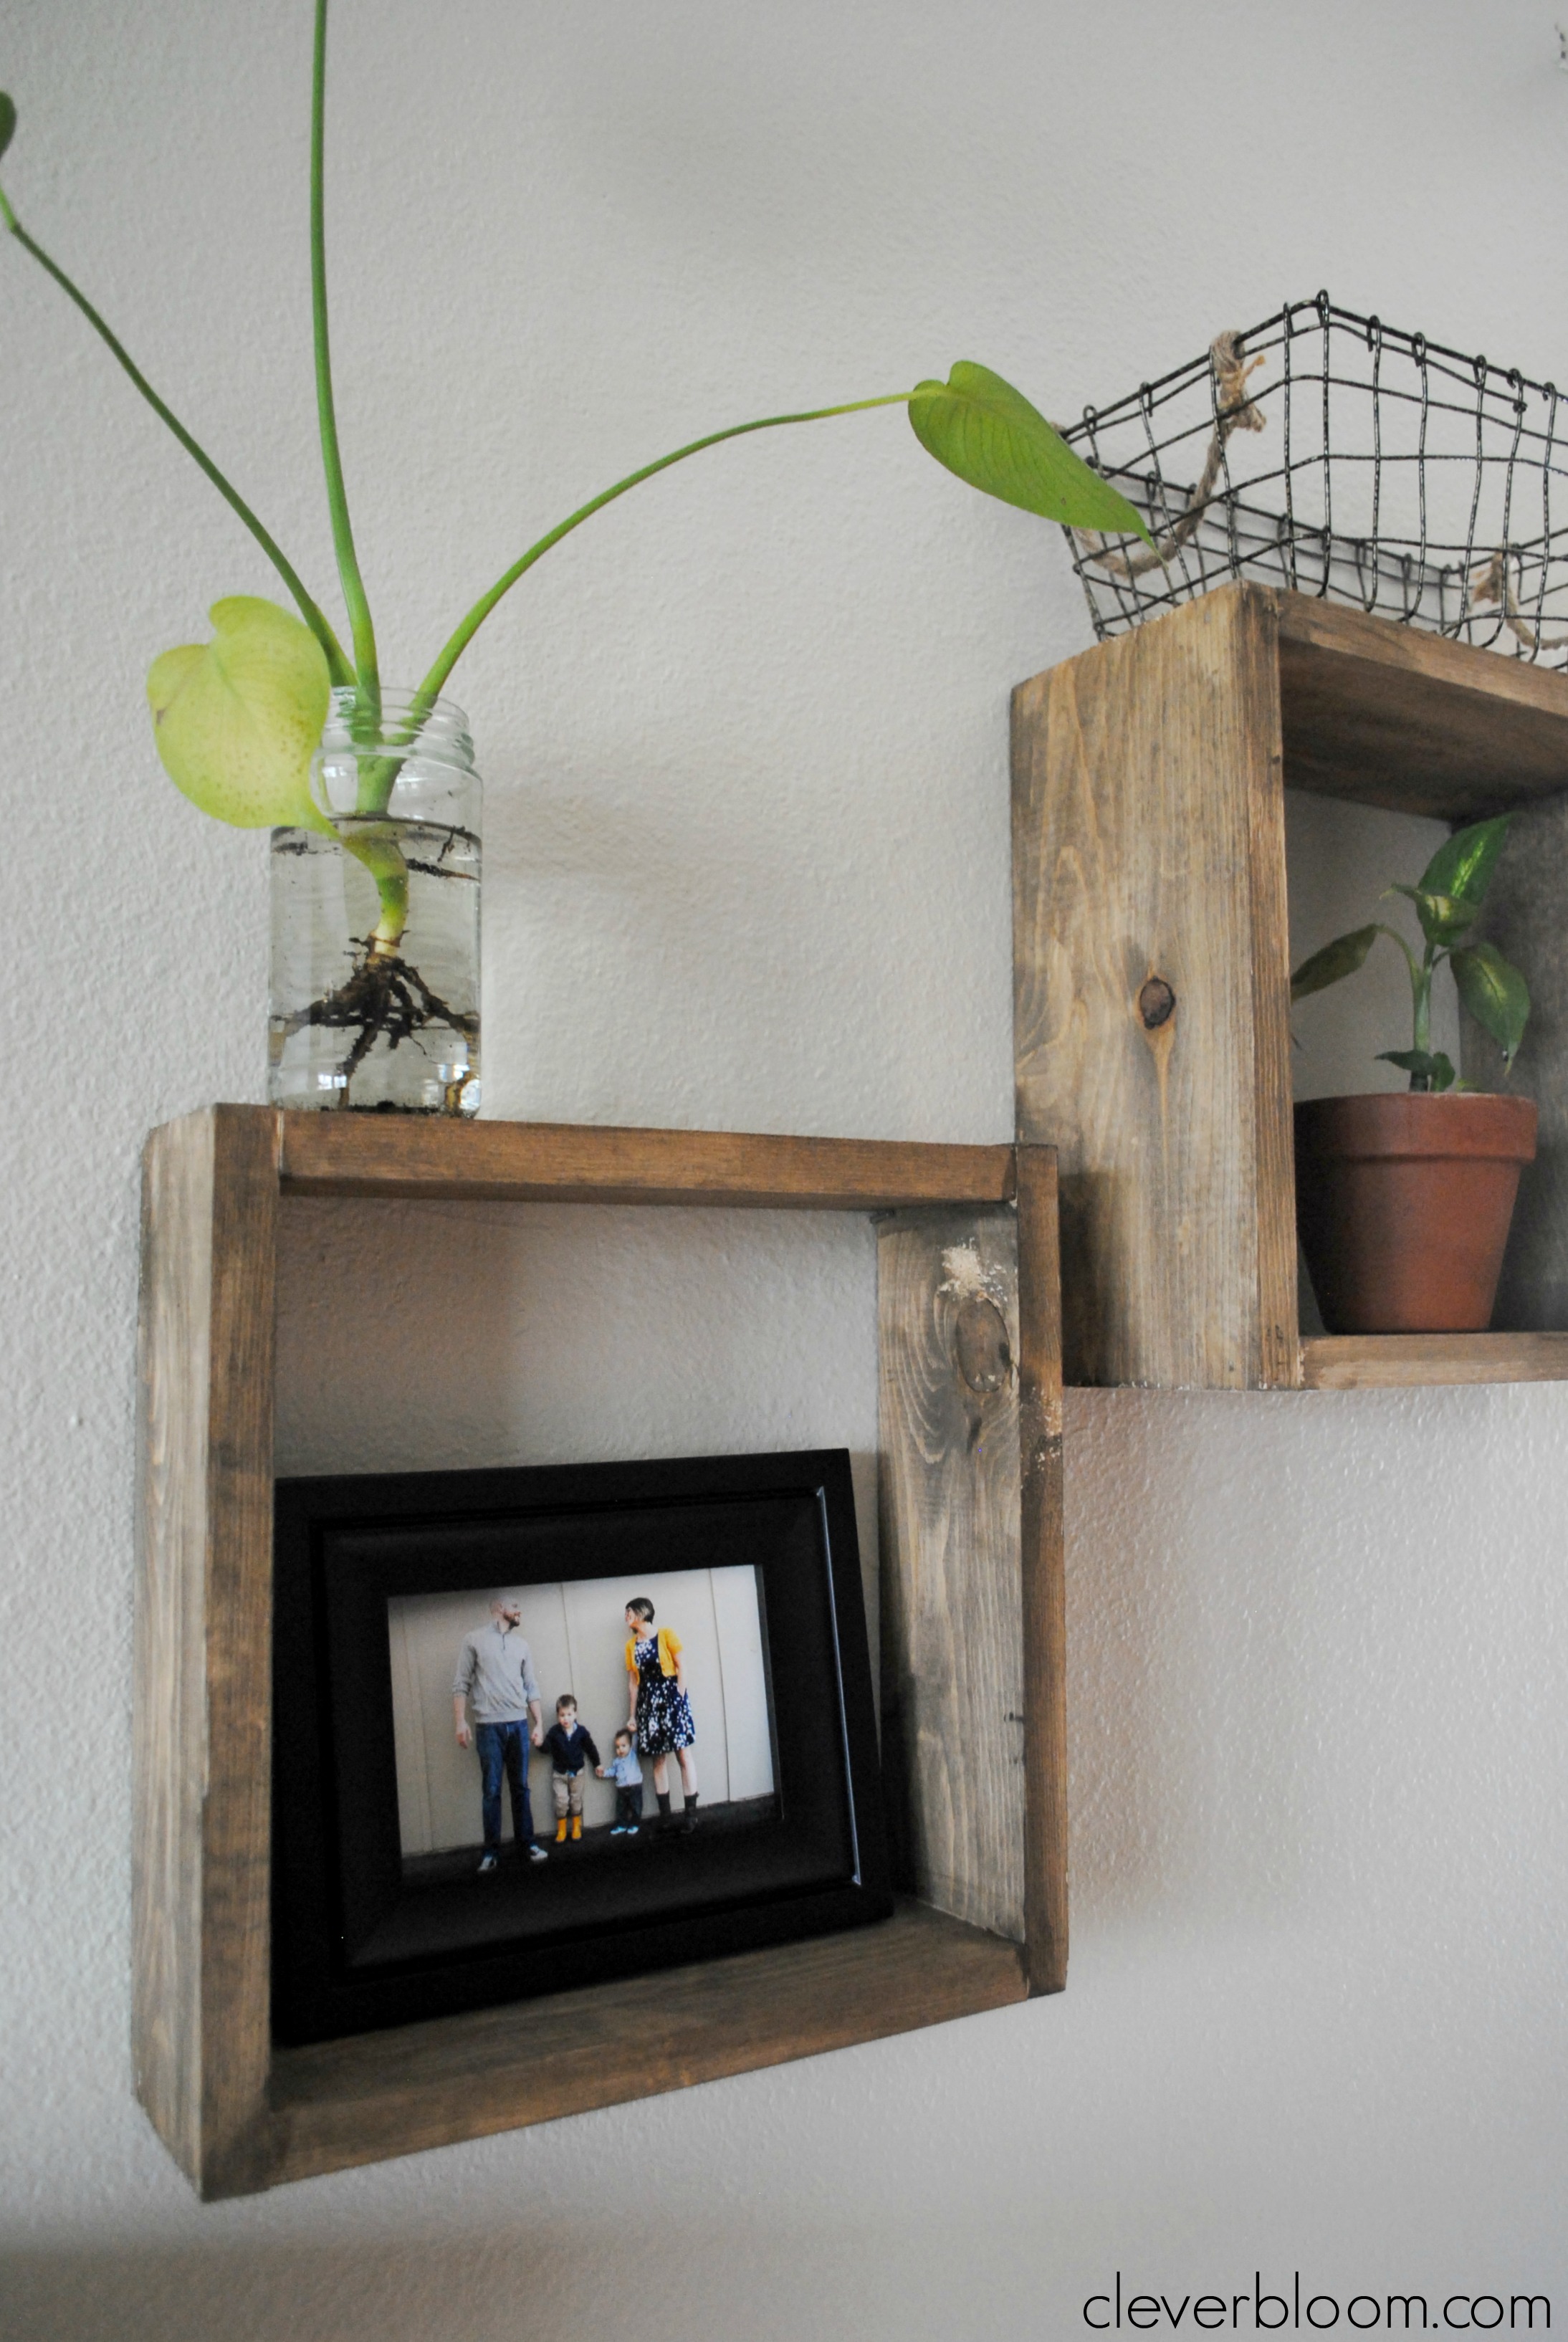
Learn how to make these easy box shelves. They are perfect for any room in your house. Display your favorite knick-knacks, plants, photos, and more!
Hi guys! We’ve lived in our new home for a year and a half now and I’m embarrassed to say that there is nothing hanging on the walls. I guess about a month ago I hung my Pom Pom Wall Hanging but that’s it!
Tim is sort of particular about what goes on the walls, which is probably a good thing because I would have gone crazy by now. I finally told him that I wanted to start living in our home and not just existing in it. We need to breath some life into these bare walls!
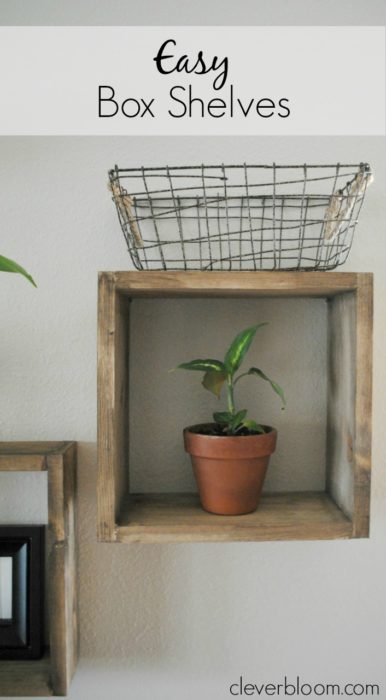
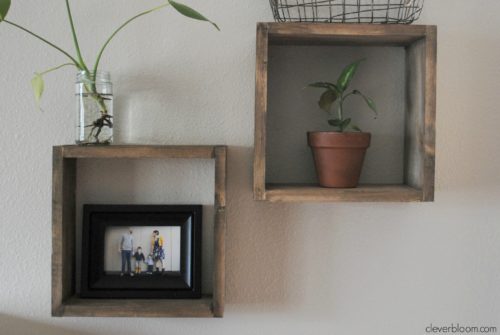
After throwing a few ideas at him, he agreed that I could dress up this wall here. It’s between the fireplace and the window in the living/dining room. We made these Easy Box Shelves and now you can too!
You’ll need:
-1×6 or 1×4 pine common boards (we used both, for depth)
-Wood Glue
-Hammer (Stop. Hammer time)
-Finish Nails (no head)
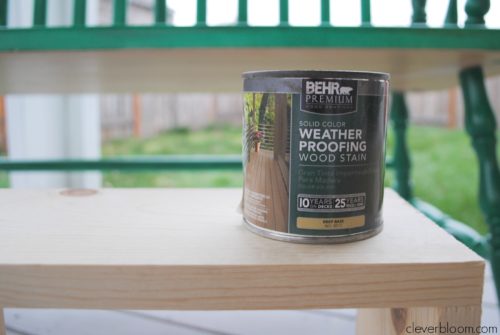
-Wood Stain (I used Behr weather proofing wood stain in DEEP BASE No.5013)
-Chop Saw
-Nail Set
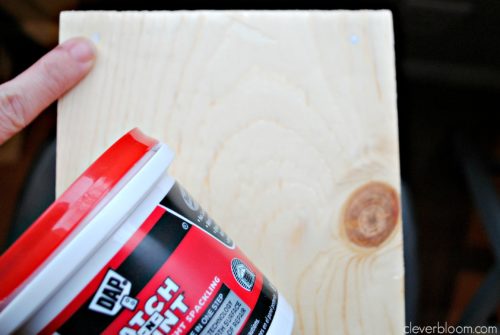
-Wood Putty (okay, we used drywall patch, but whatever you have works)
Let’s get started!
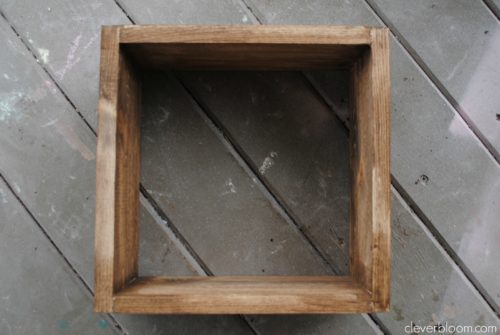
- Cut! These boxes were 12″ x 12″, which means you’ll need (2) 12″ vertical boards, and (2) 10 1/2″ boards. That way the overall dimensions create a square. (1) 8′ board will do both boxes, but different widths make it more interesting. Also, play around with the idea of making rectangles if it goes with the room.
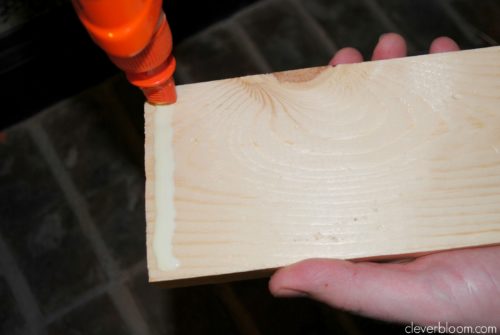
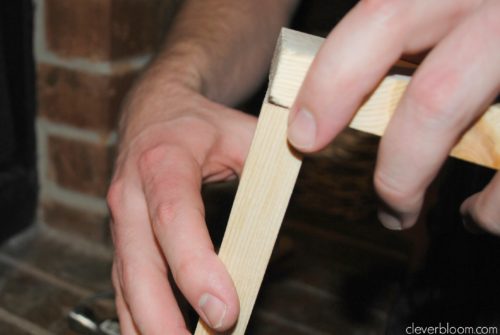
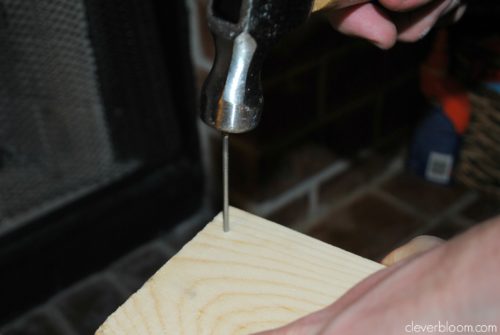
- Lay out the cut pieces so the short lengths and long lengths are opposite each other. Apply a thin bead of glue to one end, before you line everything up. Remember to line up the edge directly in line with where you’re driving the first nail in. After it’s pinned, you can always rotate, to get it straight all the way across. This just takes (2) nails per connection. Each nail should be about 3/8″ in from the corners.
- Do this all the way around – it gets easier each time. This shouldn’t get out of square, but you could always lay it flat on a hard surface to double check.
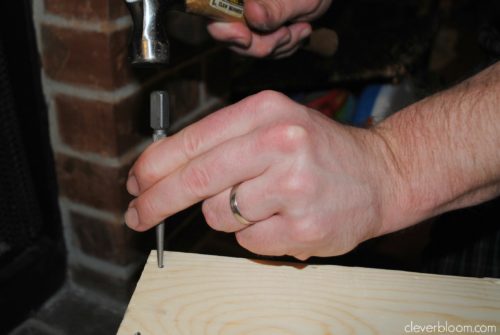
- Once everything is in place, use the nail set to drive the nails in about another 1/8″ deep. You need to have a hole for the wood putty/filler to live in.
- Patch the holes.
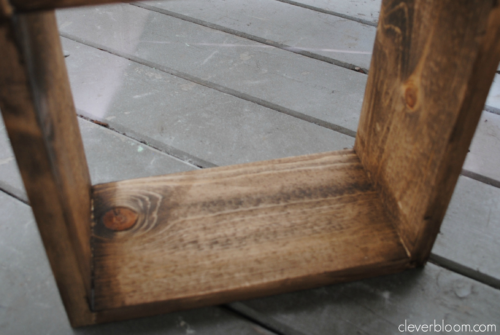
- Now lets stain. I used Behr weather proofing wood stain in DEEP BASE No.5013 and I watered it down a bit. I just rubbed it on with a cloth. I did one coat only. You could paint them too!
- Hang your boxes however you want. I just used a few small nails and hung the box right on top. You can barely see them.
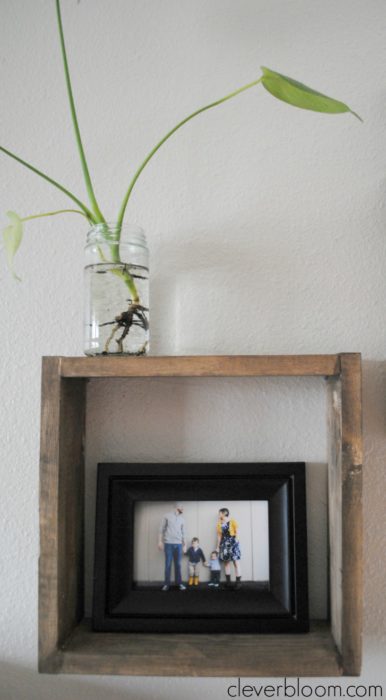
These turned out so cute! We have really bad natural light in our house and these pictures don’t do these Box Shelves justice, but trust me, they’re amazing. I think we’ll make more of these for the boy’s room. They’d be perfect for displaying they’re favorite collectibles.
Thank you for joining me! I hope I was able to inspire you to build some cute little shelves today. Pin the photo below to your DIY board on Pinterest for quick access to this tutorial. Have a great day!
