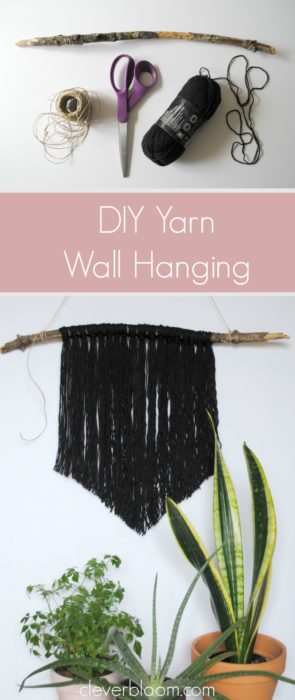
My friend Mary told me she needed to hang the lamp that was once standing in her house from the ceiling now because her one year old twin boys (how crazy would that be?!) kept knocking it over. She showed me a picture from Pinterest of a hanging lamp and the cord was covered in a macrame weave. She wanted to know if I liked the idea. I believe her exact words were “okay, so am I crazy to think this is cute? I can’t tell if this is cute bordering on funky, or just weird. feel free to judge me… I trust your judgement. Lol!” Haha!! Well, I did like it! I agreed with her though, it could be borderline weird but honestly, I started looking around my house to see what cords I could wrap in a macrame weave! As I got deeper and deeper into the world of macrame on Pinterest I started seeing these funky retro macrame wall hangings. Everywhere I looked there were these super intricate woven wall hangings that I was just falling in love with. Bobby McGee started playing in my head and all of a sudden I was imagining myself running through a field of tall grass in my Birkenstocks. It’s true!
I have to learn how to weave! I know I can do it but it’ll take time and I had to have a wall hanging now! I saw some other wall hangings that looked pretty easy from Etsy listings so I decided to tackle it!

Photograph by Bethany Raelene Studios
We’ve had this stick lying around our house for over a year now. My oldest boy picked it up in the forest during his Two Year photo shoot. Isn’t he just the cutest?! He held onto that stick the whole time and we just couldn’t get rid of it. So, I chose this stick because it’s special to us but you can use any stick.
You’ll need:
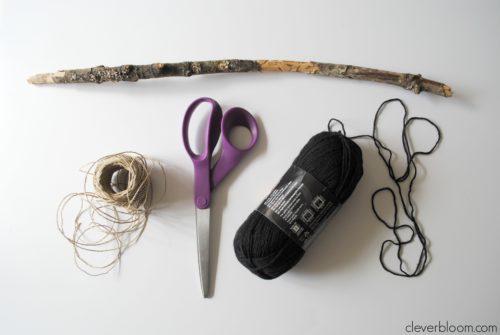
-A stick, wooden dowel or something similar.
-Scissors
-Yarn (Any kind) I used a basic black.
-Twine or Jute for hanging (optional you can also just use the yarn).
Let’s get started!
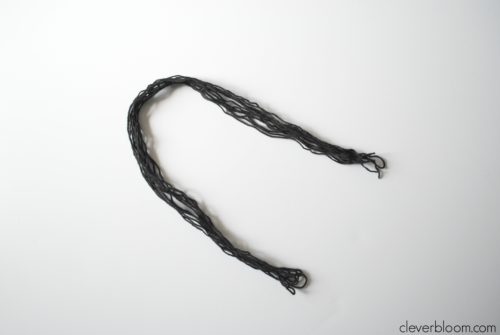
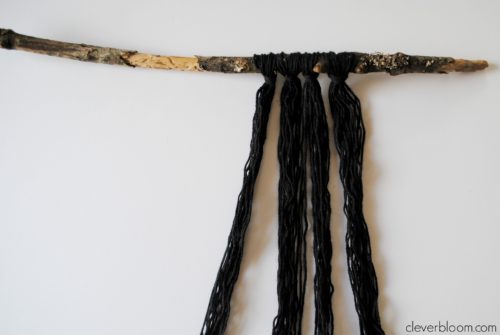
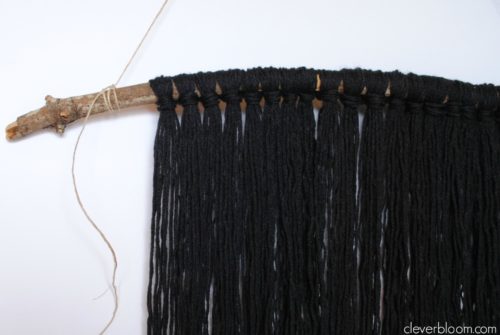
- Cut and group pieces of yarn together. I did 8 pieces that were 24″ long.
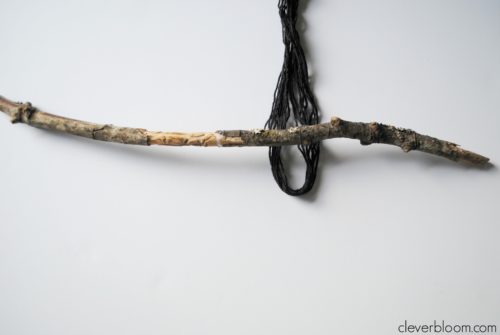
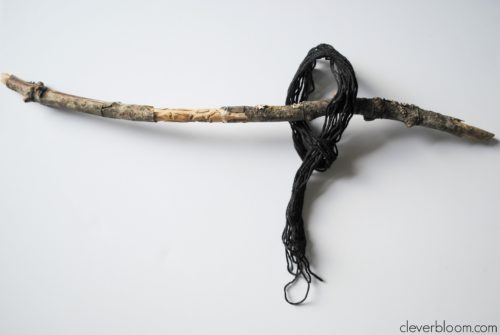
- Make a U shape with the group of yarn and loop onto the stick (see photos).
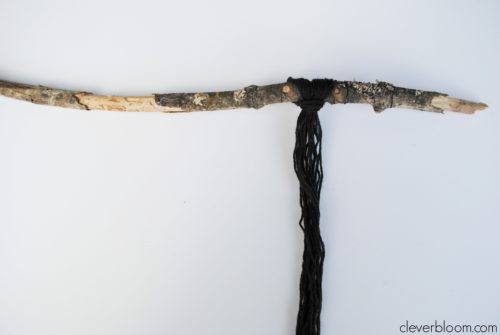
- Tighten your loop.
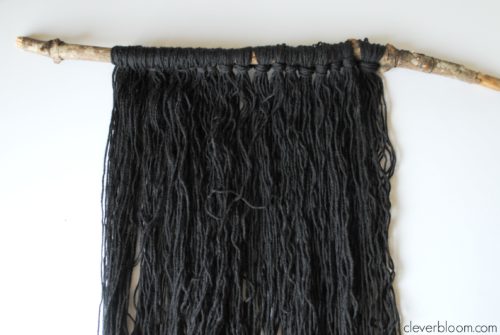
- Continue to add groups of yarn all the way down the stick until desired look.
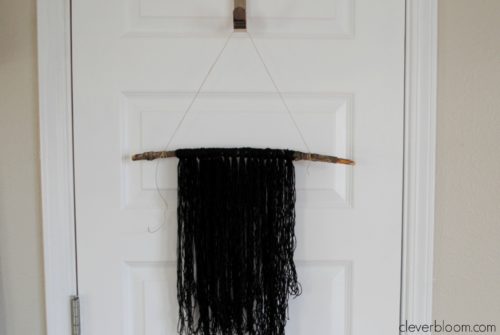
- Next, tie the twine onto your stick and hang it from a doorknob or thumbtack.
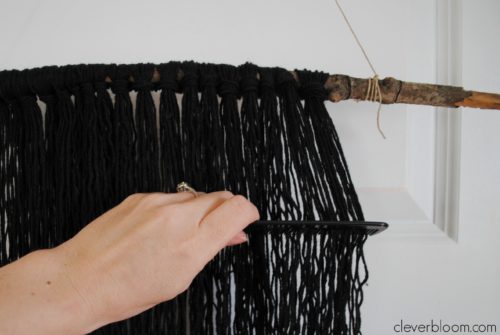
- It will be tangled so use a comb to comb it as straight as possible.
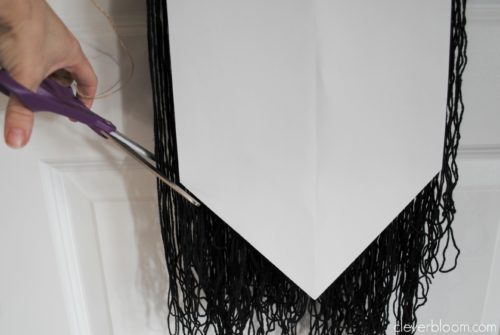
- Cut your desired shape out of paper and tape it to the wall hanging. Use as a guide while cutting. (You don’t have to do this but it’s sort of like a haircut, if you mess up, you just keep going shorter and shorter :)).
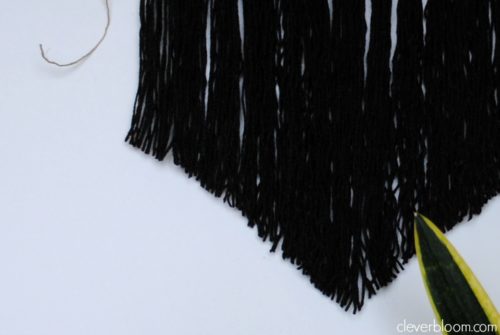
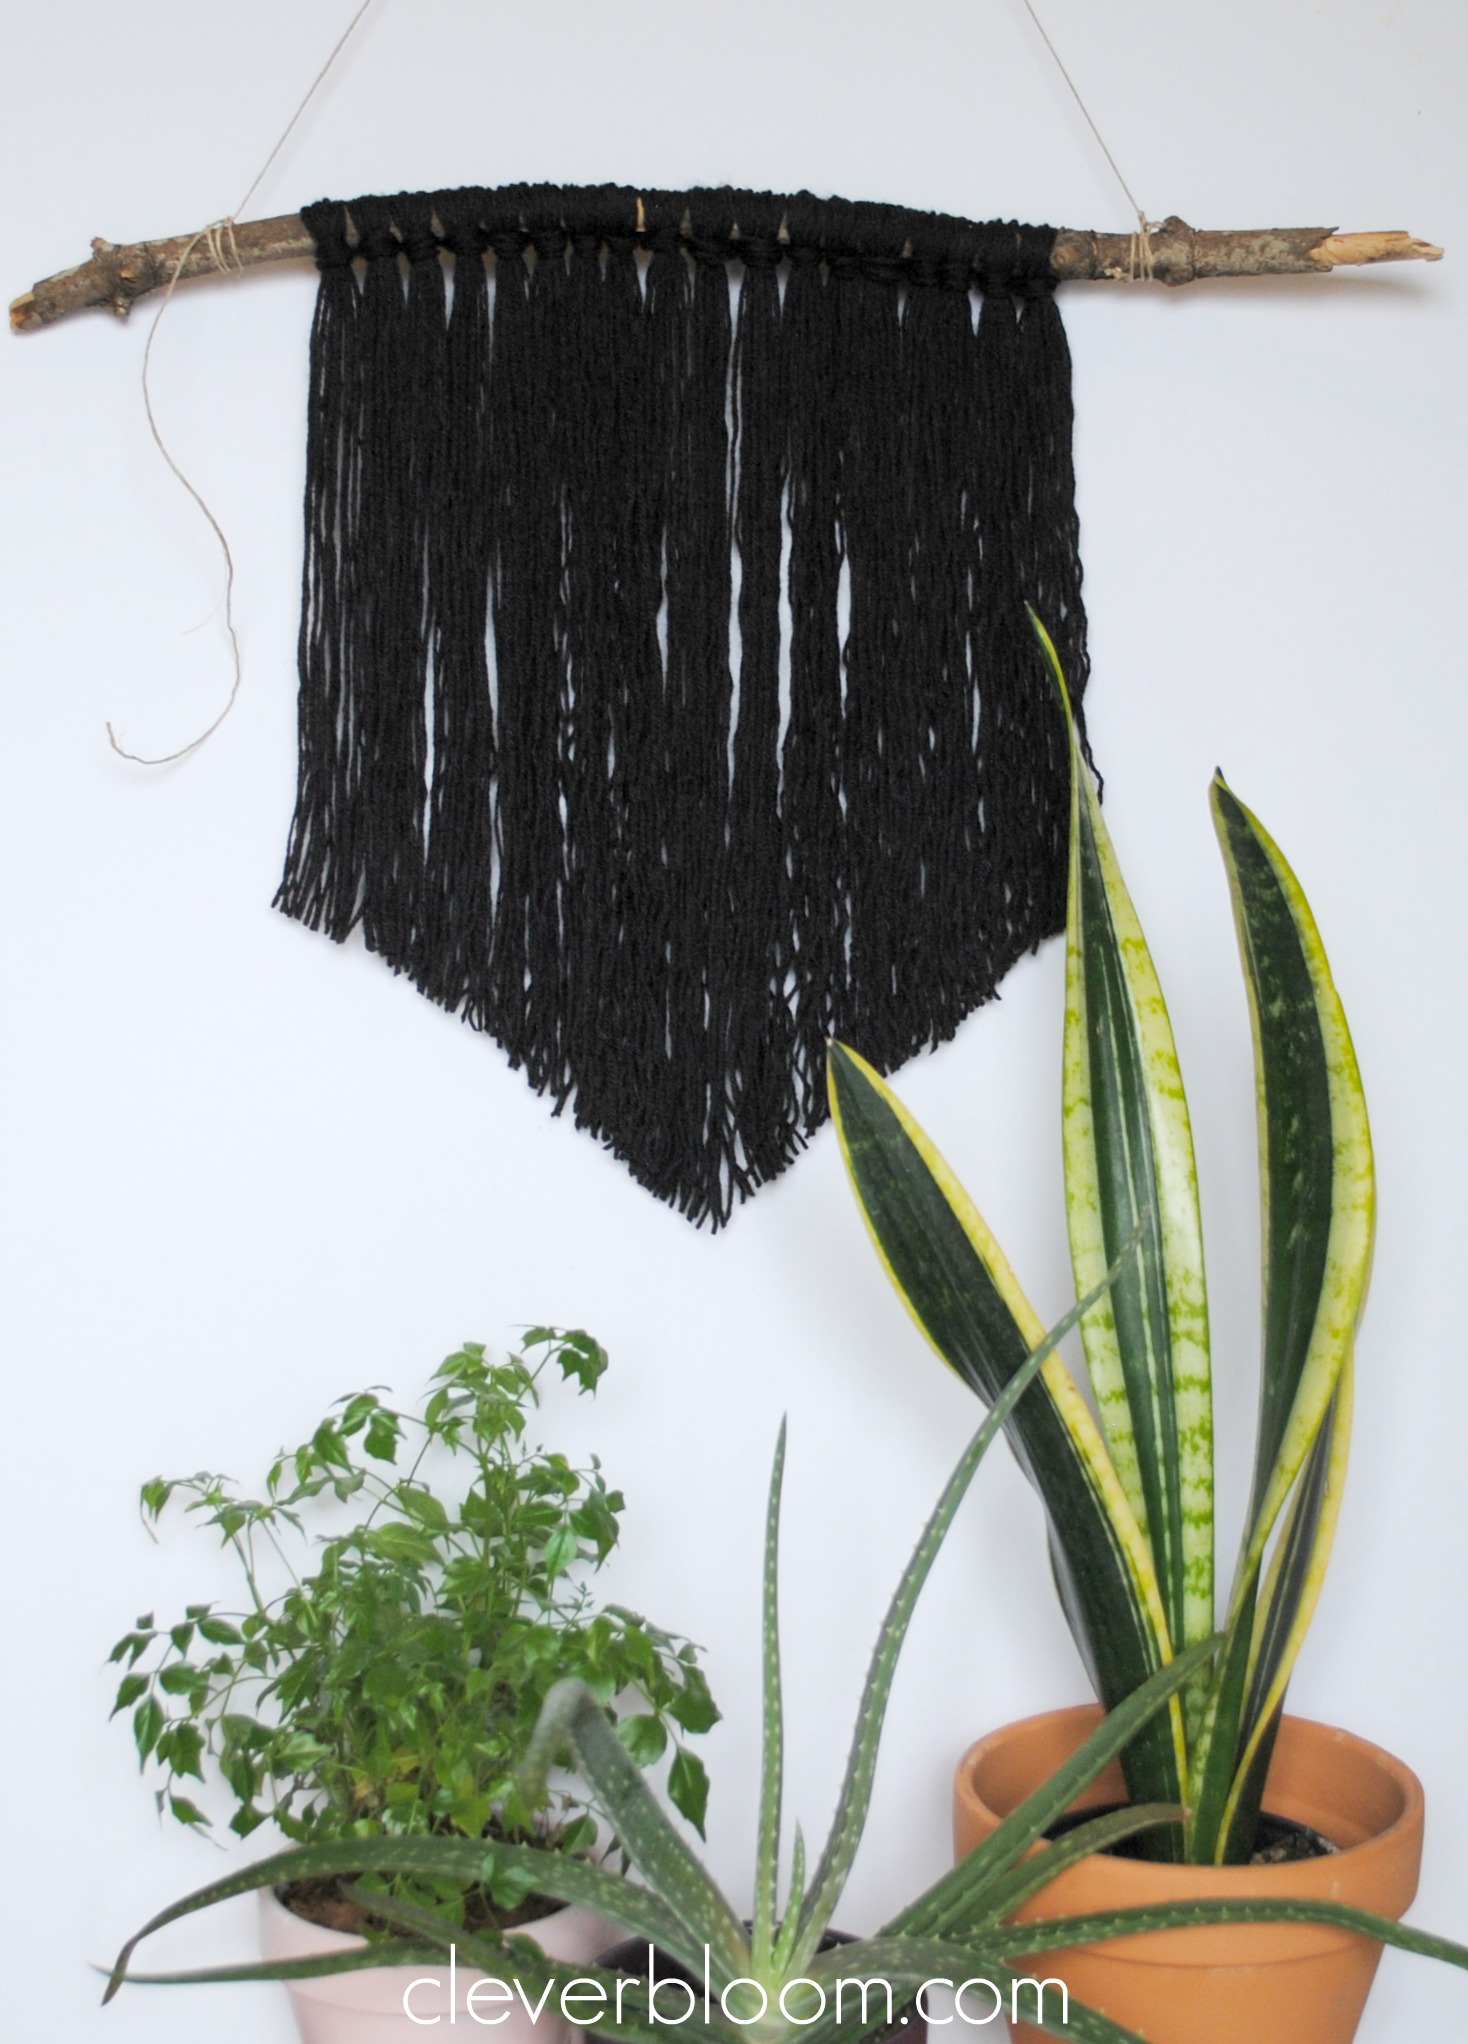
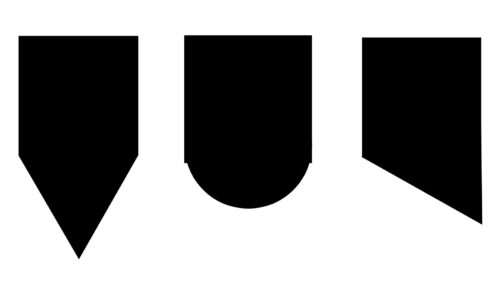
That’s it! Wasn’t that easy? There are lots of different shapes or styles you can cut your hanging into. Here are a few examples.
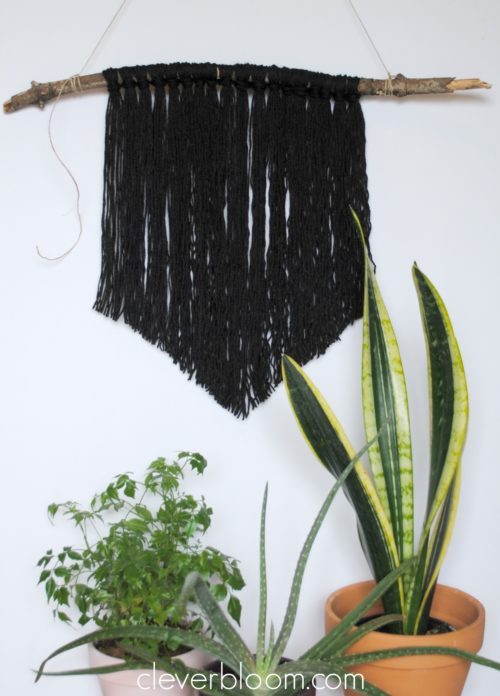
I’m not quite sure where it’s going yet but I love this wall hanging, it was SO simple! I recently did a Vintage Chair Makeover and I think it will go great with this new decor! If you’re interested in another type of wall hanging, check out my Pom Pom Wall Hanging, it also has a cool 70’s vibe! Thank you so much for joining me today. I hope you had fun and hope you are able to make one of these DIY Yarn Wall Hangings. Pin the picture below to your favorite DIY board for easy access to this post. Have a great day!
