What’s nice about this Floating Shelf is you can make it your own. Paint it, decoupage it, stain it, whatever you want. I left mine raw but there are so many possibilities! Okay, let’s get started.
You will need:
– 2 pieces of wood lath (Home Depot had 4′ for $.35 ea) Try to get them as straight as possible.
– Saw
– Drill
– 4 screws
– 4 small screw eyes
– Hemp/Rope/Yarn
– Wood glue
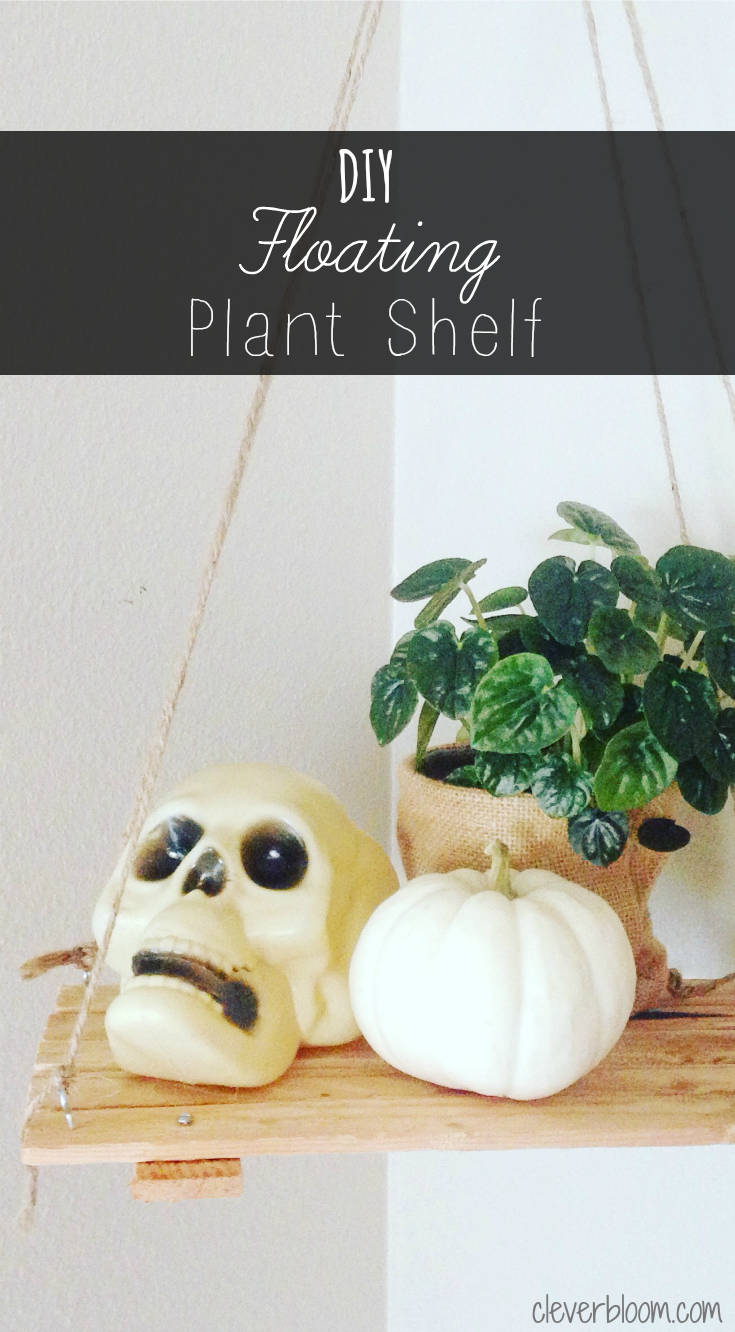
I took step by step pictures but accidentally erased them. SORRY! Just use the main picture as a guide.
1. Lay out your two pieces of wood lath. Measure and mark three 14″ pieces on one and two 14″ pieces and two 9″ pieces on the other.
2. Cut your wood on the marks. You should have five 14″ pieces and two 9″ pices total.
3. Lay your 9″ pieces vertically in front of you about 8″-9″ apart. Now lay all five 14″ pieces accross them horizontally. Play around with them so they’re positioned how you want it to look.
4. Glue the 14″ strips to the 9″ strips. Allow to dry.
5. On each corner use screw to secure top piece to bottom piece.
6. Now, add a screw eye to each corner. Just eyeball it. It doesn’t have to be precise.
7. Next, cut two 6′ long pieces of hemp. Lay them next to each other, fold them in half, and tie a knot in the middle leaving a loop.
8. You now have a loop with four pieces hanging down. Tie each one to each screw eye. You might have to adjust once you hang it so it’s even.
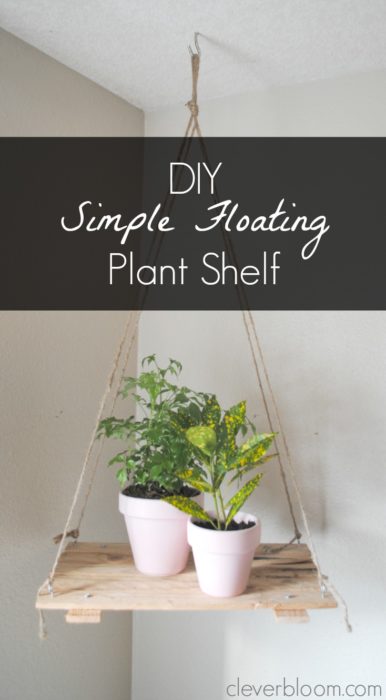
9. Now hang it and put something fun on your new shelf.
Thanks for visiting today! I hope you had fun with this super simple Floating Shelf. Follow me on Instagram and Pinterest for more super simple projects. See you next time!
Love it. You did good.
Thank you! You should make one. They’re so easy!