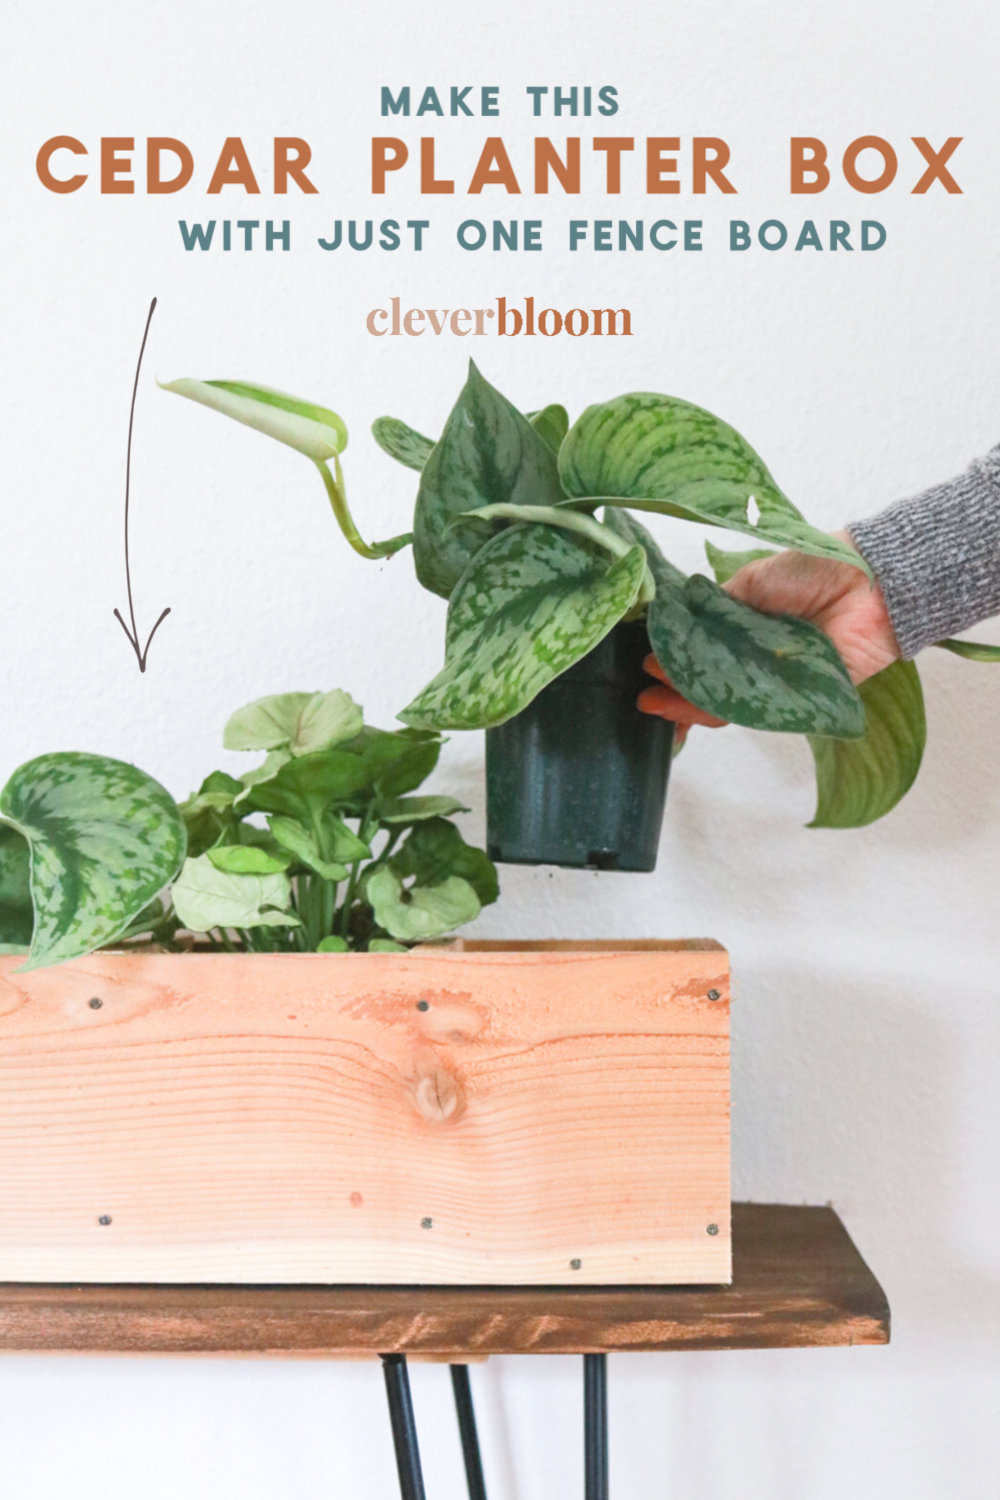
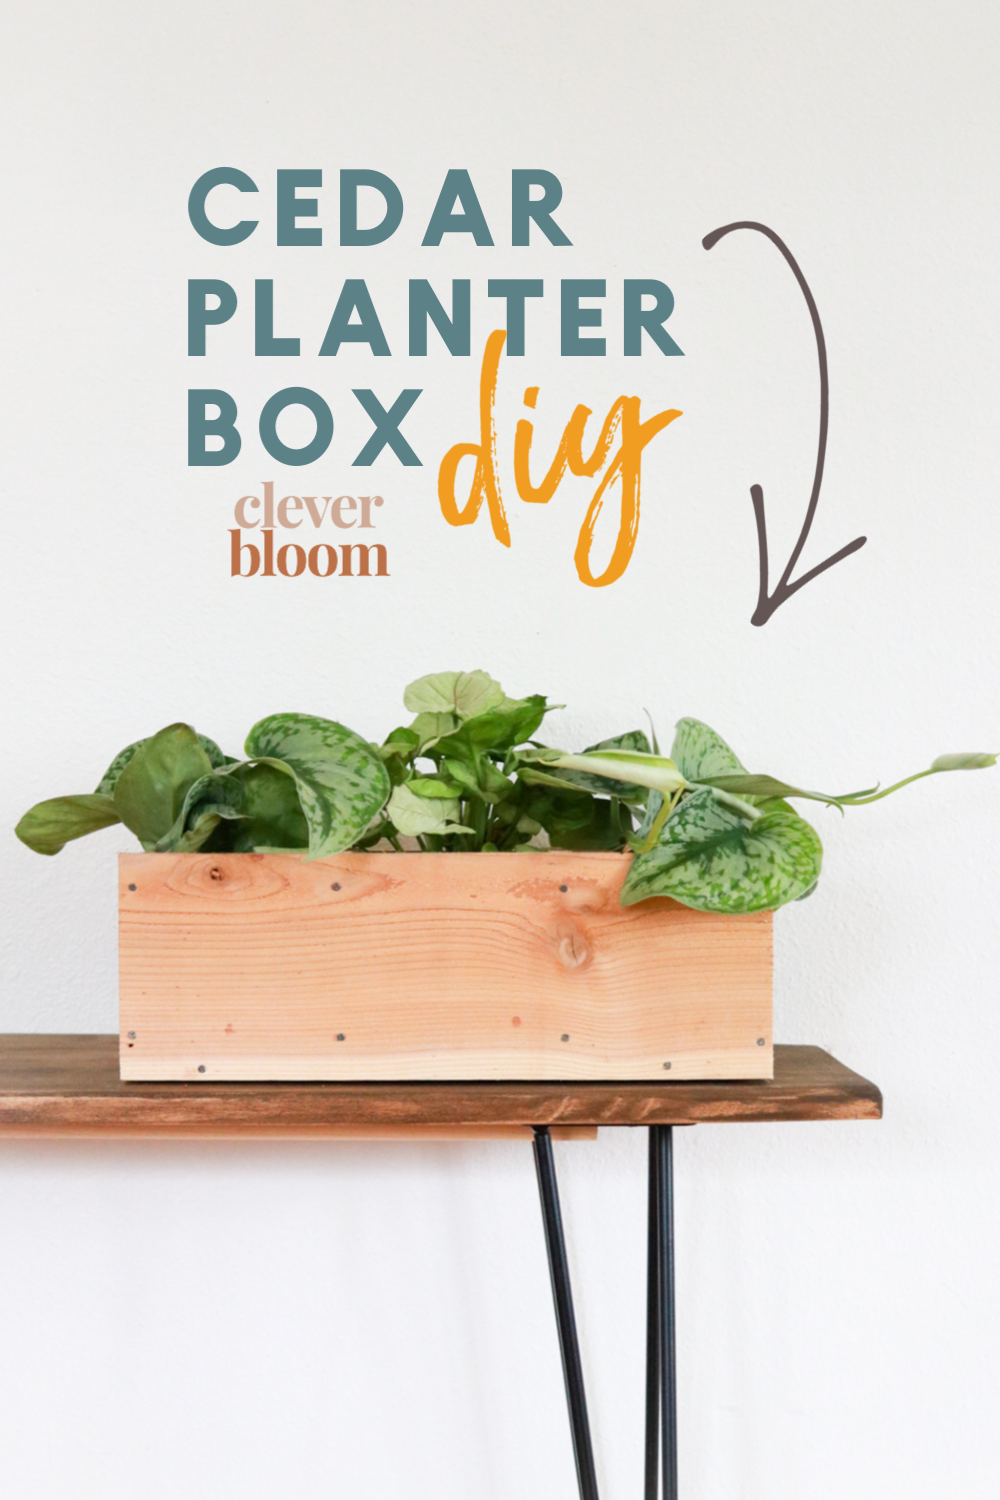
This Cedar Planter Box is perfect for displaying your favorite 4″ nursery pots. With three separate compartments, you can mix and match, tropical or desert plants in the same planter! Leave the Cedar Planter Box natural or give it a coat of stain to match your decor perfectly! The best part? This Cedar Planter Box can be made with just ONE piece of fence board!
I had the privilege of joining forces with the guys of Parr Lumber’s Weekend Warriors Home Improvement Show, on this little project video. You’ll want to watch the short 5 minute video before building your planter box. We’ll walk you through the steps so you can get a better idea of how to nail everything together.
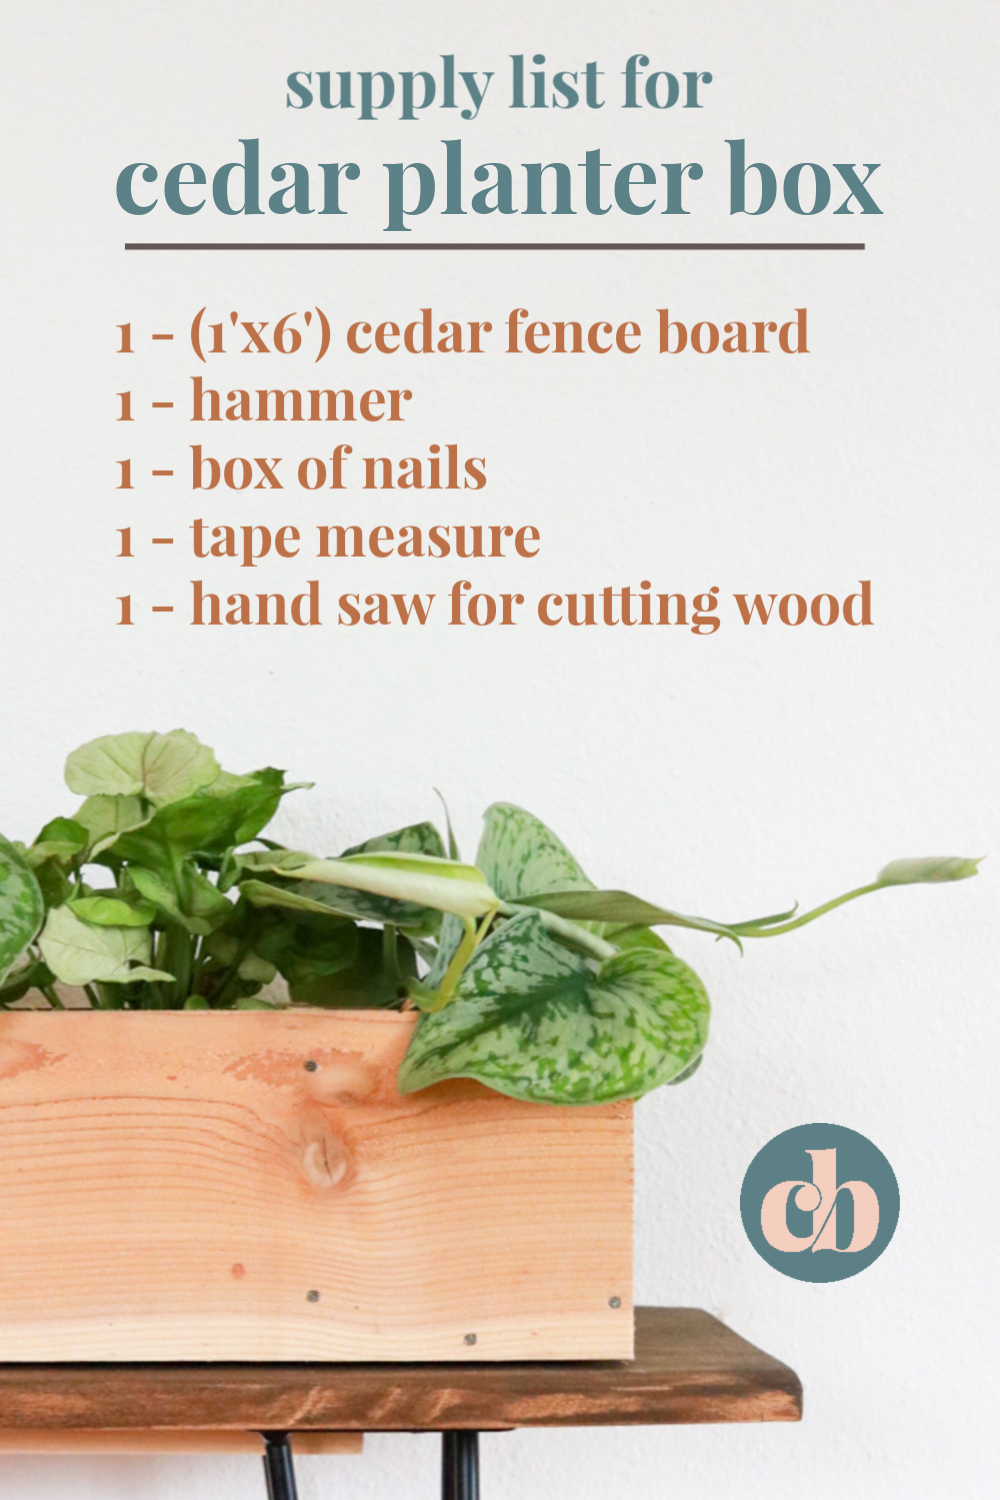
Before you watch the video (below) be sure you have all the supplies you need. Take a look at the list below. I’ve also included some basic steps that you can refer back to.
Fence Board Measurements
cut from one 1×6 cedar fence board (keep in mind a 6″ wide fence board is actually more like 5.5″ wide.)
2 pieces – 15.5″ long
1 piece – 14.5″ long
2 pieces – 5.5″ long
2 pieces – 5″ long
Steps
Step 1 – Cut fence board.
Step 2 – Nail together all sides of the planter box. On each corner, one nail near the top and one near the bottom.
Step 3 – Insert and nail together the bottom board.
Step 4 – Measure and evenly space divider pieces. Drop in divider slats and nail to secure.
Watch Video
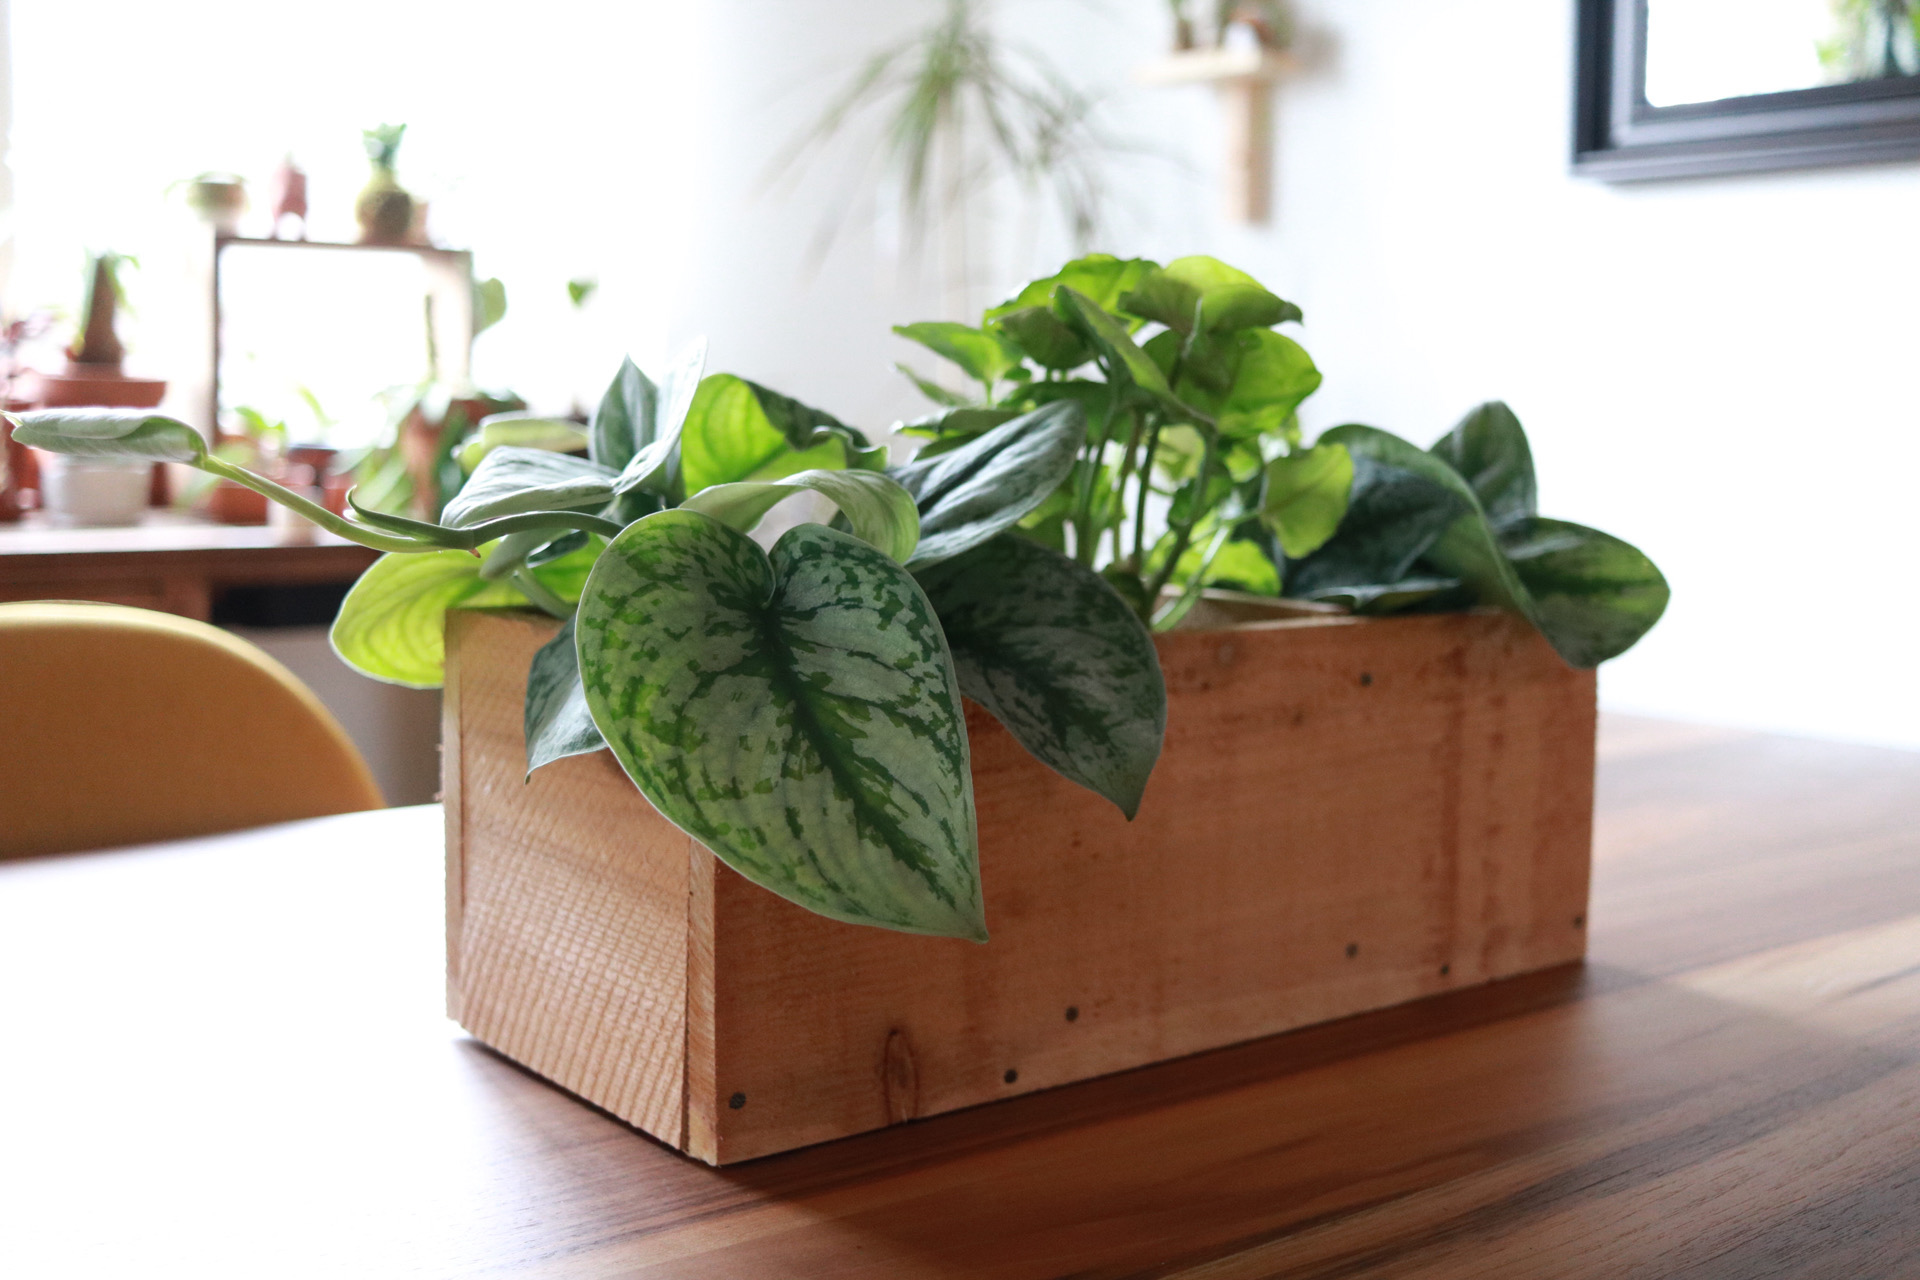
I love how this planter box perfectly fits three 4″ planters. Mix and match different plants to make a beautiful centerpiece! Share this easy weekend project with me by tagging @cleverbloom when you post! Have fun and enjoy!
Pin for later!